Virtual machines for Windows
Sometimes it becomes necessary to get a second computer on which you can install a different operating system or safely test programs. A virtual machine will help you cope with this task. In this article we will look at what a virtual machine is, why a virtual machine is needed, and how to install and configure a virtual machine.
Virtual machine– a program that emulates a real (physical) computer with all its components (hard drive, drive, BIOS, network adapters, etc.). You can install an operating system, drivers, programs, etc. on such a virtual computer. Thus, you can run several more virtual computers on your real computer, with the same or a different operating system. You can easily exchange data between your real and virtual computer.
Why do you need a virtual machine?
Not every PC user needs a virtual machine, but advanced users use it quite often. A virtual machine is used for various purposes and tasks:
- Installation of a second/different operating system;
- Software testing;
- Safe launch of suspicious programs;
- Computer network emulation;
- Launching applications that cannot be launched from your operating system.
For clarity, I will give a few examples.
The Windows 7 operating system can be installed on your real computer, and Windows XP, Windows 8 or Linux can be installed on the virtual machine.
If you need to choose a program (for example, a video player), you need to install several similar programs and determine which one you like best. Whatever clutters up your computer, test programs in a virtual machine.
I often use a virtual machine when I write an article for a website. Before writing material, I personally check everything. When I do a software review, I have to install a lot of different programs, which creates extra clutter on the system. And unsuccessful encryption or hiding of data can lead to unpleasant consequences. It’s better to protect yourself and experiment on a virtual computer.
Virtual Machines Overview
There are a large number of different programs for creating and managing virtual computers. Now we will look at the 3 most popular programs.
VirtualBox virtual machine
– a free virtual machine on which you can install all the most popular operating systems. VirtualBox supports Windows, Linux, FreeBSD, Mac OS.
VirtualBox supports both 32 and 64 bit versions of operating systems. VirtualBox supports working with virtual computers created in the paid program VMware Workstation.
Setting up and working with VirtualBox is very convenient and simple. The program is quite productive and stable.
VirtualBox has wide functionality, a specific interface and is completely free. VirtualBox is the best virtual machine for home use.
VMware virtual machine
VMware the most famous and widespread virtual machine. VMware is typically used by large sites or corporations.
VMware comes in two forms: Workstation and Player. VMware Workstation is a great, but paid virtual machine. VMware Player is a free, stripped-down version of VMware Workstation.
VMware Workstation supports 32 and 64 bit systems, USB 3.0, and installation of various operating systems.
VMware Workstation is by far the best virtual machine used by large companies, but its cost reduces its popularity among ordinary users.
Microsoft Virtual PC virtual machine
Microsoft Virtual PC– another free virtual machine. It has wide functionality and a user-friendly interface, but it has one big drawback - it only works with Windows operating systems. It cannot run Linux or Mac OS.
To summarize, I would like to note that VirtualBox is best suited for home use. Next, we'll look at how to install and configure a VirtualBox virtual machine.
Installing a VirtualBox virtual machine
Of the virtual machines discussed in the previous section, it is best to use VirtualBox. Now we will look at how to install VirtualBox, and the next section will describe how to configure it.
Download the latest version of the program from the official website. Download program
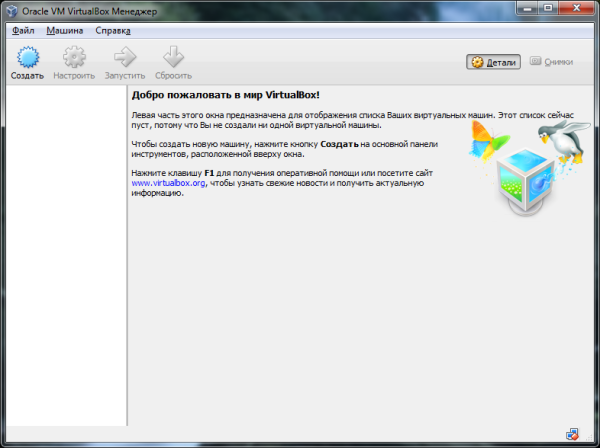
We launch the installer and see the welcome window. Let's move on to the next stage.

At the second installation stage, you can see all the program components that will be installed and the directory in which the program will be installed. You can change the installation directory, but I recommend installing all the components. You may not need all the components now, but if you need them in the future, you need to install the virtual machine again. Go ahead.

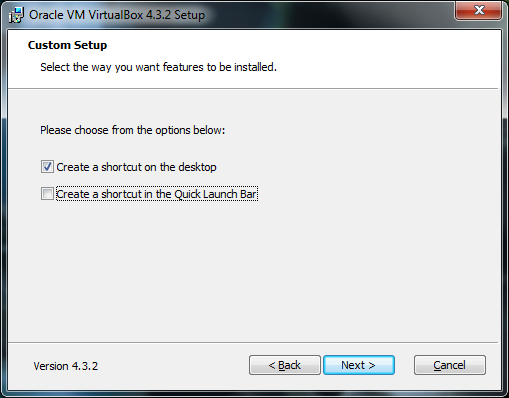
Here you need to mark where you want to place the program shortcuts.
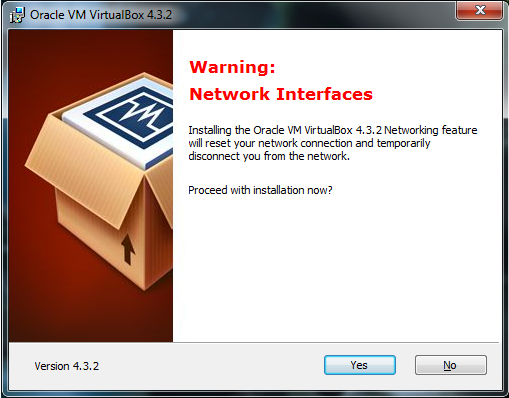
At the next stage, a warning will appear that during installation your computer will be temporarily disconnected from the network. If you are downloading something important from the Internet, wait until the download is complete and only then click the “Yes” button in the installation window.
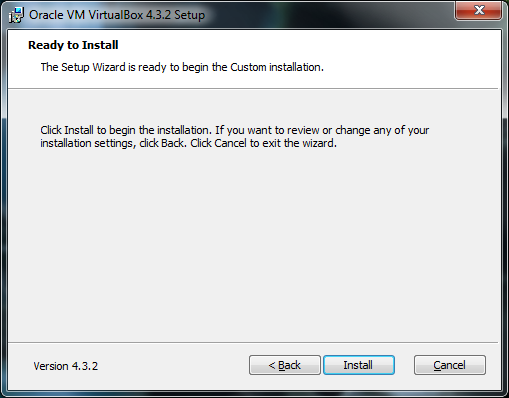
You will then be told that if you are ready to begin the installation, click the “Install” button, and if you want to change any parameters, then go back. Click “Install” and wait for the installation to complete.
During the installation process, pop-ups may appear with the message “Install software for this device?” Click the “Install” button.
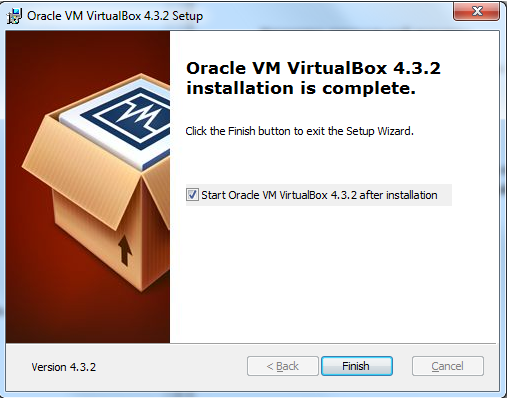
The installation is complete. Click the “Finish” button. The virtual machine will automatically start after installation is complete.
Let's move on to creation and configuration.
Creating a VirtualBox virtual machine
To create a virtual machine, you need to click on the “Create” button in the VirtualBox program window (in the upper left corner).
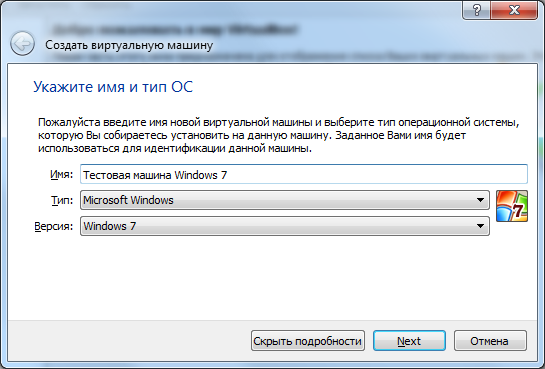
At the first stage, you need to enter the name of the machine to be created and select the type of operating system. For example, we will create a virtual machine with the Windows 7 operating system. Let's move on.
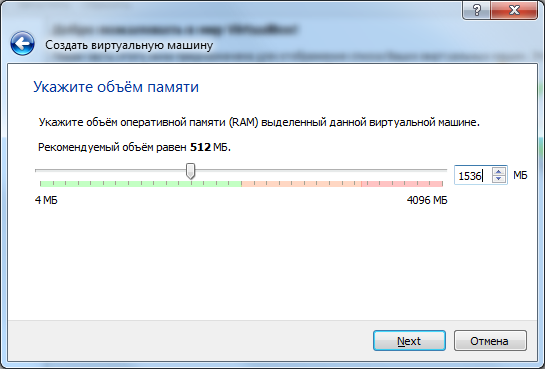
In the second step, you need to set the amount of RAM that will be allocated to the virtual machine. You need to choose based on the needs of the operating system. The system requirements for Windows 7 indicate that you need at least one gigabyte of RAM. I specified 1.5 GB. Windows XP requires less RAM. In general, we take the minimum that is indicated in the characteristics of the operating system + a small margin. Please note that you cannot give a virtual machine more than half of the computer’s RAM, of course, unless you have a very powerful computer with 8 or more gigabytes of RAM.
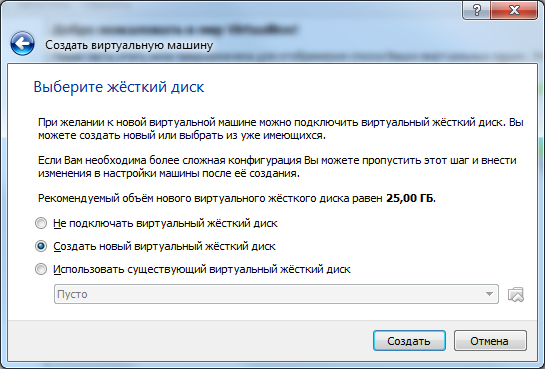
You can connect a virtual hard disk to a virtual machine. Let's create it. Check the box “Create a new virtual hard disk” and click on the “Create” button.
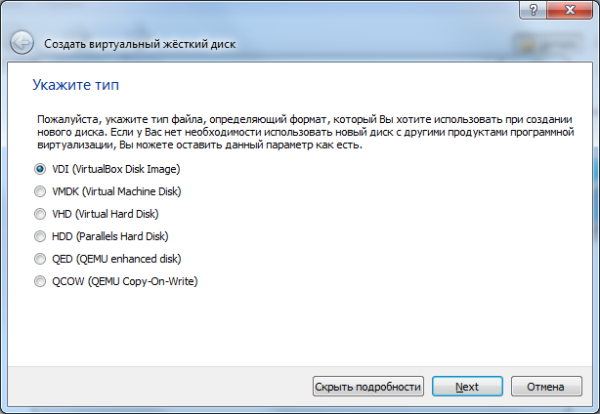
Now you need to specify the type of hard drive. If you do not know the formats that are described there, leave it as is and click “Next”.
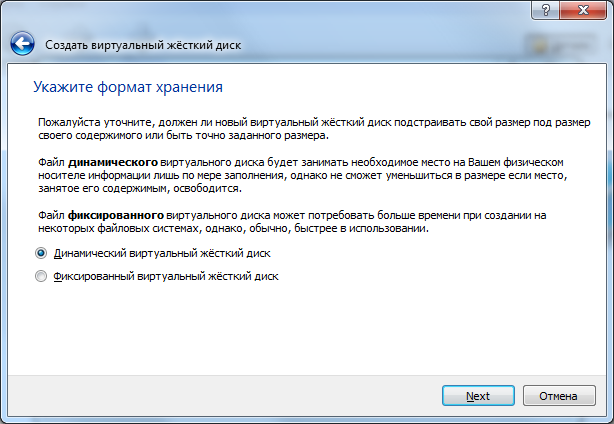
Next, you need to specify the format for storing data on the virtual hard disk. A dynamic virtual hard disk can expand, while a fixed one has a strictly defined size. See what is more convenient for you.
Specify the name of the virtual hard disk and its size. Click “Create”.
Setting up a VirtualBox virtual machine
Let's get acquainted with the settings of the virtual machine. Click the “Customize” button in the upper left corner of the program.
A settings window will appear. By changing the settings, you can change various parameters of the virtual machine (for example, the amount of RAM, the order in which devices boot, enabling 2D acceleration, etc.)
All settings are divided into several sections. The current version of the program has 9 sections. We will not consider each section in detail. Visually, you will master the settings much faster than by reading extra text. At the same time, by pointing at any settings item, a window will appear in which it will be described why this or that parameter is needed. I'll briefly describe what features you can find in each section.
Basic settings by section:
- General – machine name, OS type, clipboard, removable media;
- System – Basic virtual machine hardware settings: RAM, chipset, processor, acceleration, device boot order;
- Display – Video memory settings, number of monitors, 2D and 3D acceleration, connection to a remote display, video capture;
- Media – Hard drive controllers and their configuration;
- Audio – audio driver and controller;
- Network – setting up network adapters;
- Com ports – enable and configure COM ports;
- USB – Enabling the USB controller and setting up USB filters;
- Public folders – create and manage public folders.
If you make a mistake in the settings, the program will inform you about it. The message “Incorrect settings detected” will appear at the bottom of the settings window. By hovering your cursor over the exclamation mark, you will see a pop-up panel in which you will find out what you did wrong and how you can fix it.
For an ordinary user, the first 3 sections of settings are enough. If the virtual machine runs slowly, you can increase the amount of RAM or use more processor power.
Having completed the settings, click the “OK” button. To start (enable) the created virtual machine, you need to click on the “Launch” button. Now we insert the installation disk with the operating system into the drive, install and configure the operating system and your virtual computer is ready for use.
Conclusion
In this article, we looked at what a virtual machine is, why it is needed, and how to install and configure a virtual machine. Installing and configuring a virtual machine is not difficult.
