How to enable on-screen keyboard on Windows 7
How often does your keyboard fail you and refuse to work? What to do in this situation, when the decision is urgent? There is a solution - an on-screen keyboard. Today you will learn how to enable the on-screen keyboard on Windows 7, setting up and using the standard program with screenshots.
Article overview:
1. On-screen keyboard – what is it?
2. What is the on-screen keyboard for and who will benefit from it?
4. How to remove the on-screen keyboard from the Windows 7 desktop
5. Pin On-Screen Keyboard to Start Menu
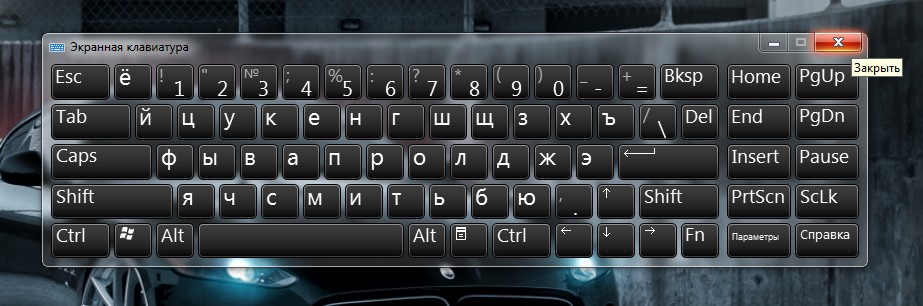
Screen keyboard is a specialized standard program that allows you to enter symbols, words, and numbers using the mouse. The program window is displayed on the desktop and does not disappear when other programs are launched.
What is the on-screen keyboard for?
Firstly, the on-screen keyboard is designed for people in special groups and people with disabilities. Suitable for people with limited mobility and performance of fingers.
Secondly, the keyboard on the monitor screen can be useful if some keys are missing on a standard keyboard, or if their performance is poor. And also in the case when the PC does not see the keyboard.
Third, The on-screen keyboard is convenient when using tablet input.
Fourth, few people know the fact that when entering a password from a regular keyboard, each character is recorded and saved; the on-screen keyboard bypasses this function.
We talked about what the on-screen keyboard is intended for and when its function is vital. Now I will share several ways to enable it.
Method 1.
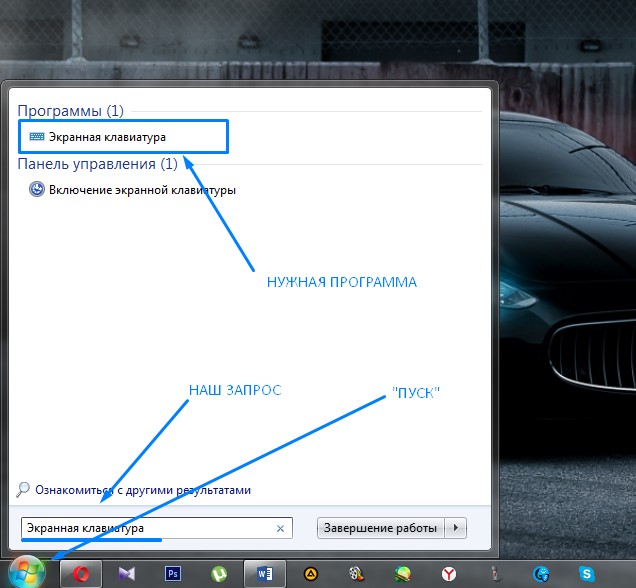
How to enable the on-screen keyboard on Windows 7 is actually a fairly simple question, as is its solution. Go to the “Start” menu, and in the search bar enter the query “ Screen keyboard", of course, without quotes. Let's launch the first program.
Method 2.
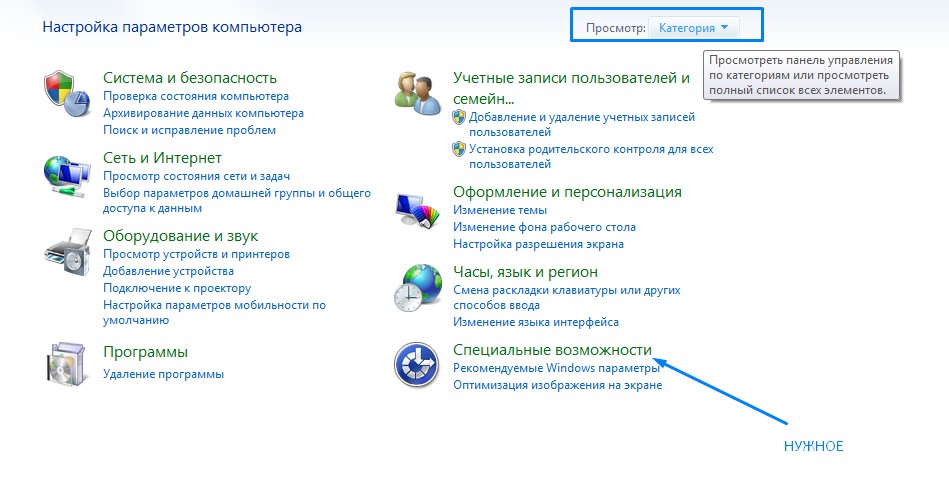
Just like in the first option, go to the “Start” menu, open the “” tab Control Panel" We set View Icons to “Category”, as shown in the screenshot.
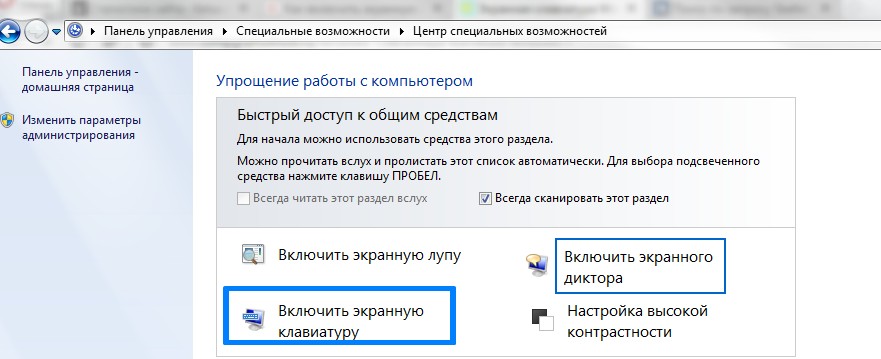
Sequentially open: Special Features -> Special Center. options -> Enable on-screen keyboard. Now you can start setting up this program, if desired.
How to remove the on-screen keyboard from the Windows 7 desktop
To minimize the program window " Screen keyboard", you need to click on the button in the upper corner "Collapse", as shown in the screenshot.
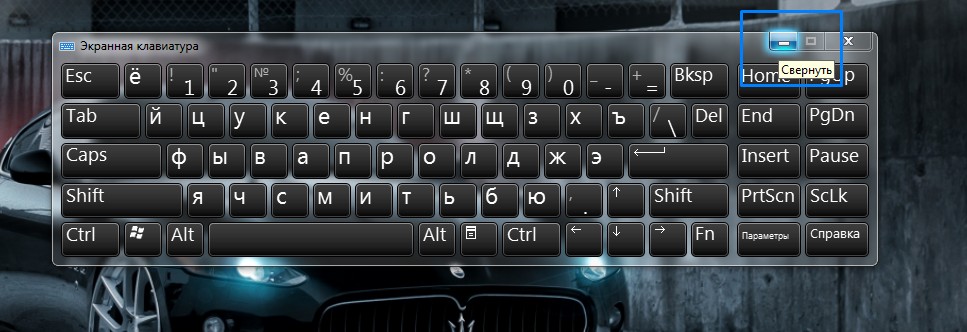
And to exit the program completely, click on the red cross, the program will close.
Pin On-Screen Keyboard to Start Menu
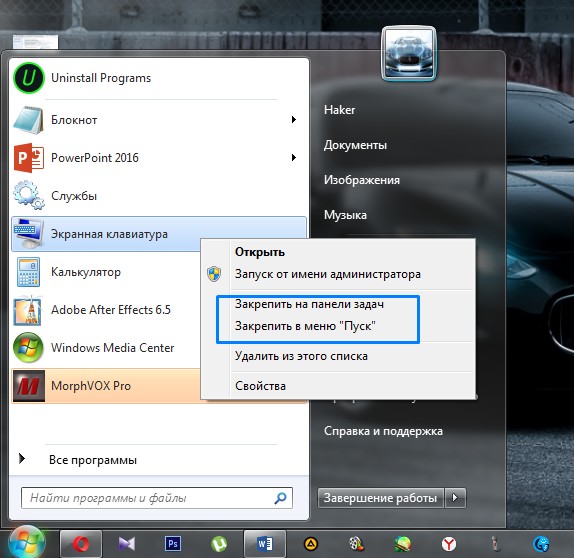
If you often have to use the on-screen keyboard, I recommend pinning this program to the Start menu or to the icon bar. To do this, go to the Start menu and right-click on “ Screen keyboard", from the drop-down menu, select one of the desired actions, as shown in the screenshot.
Additionally
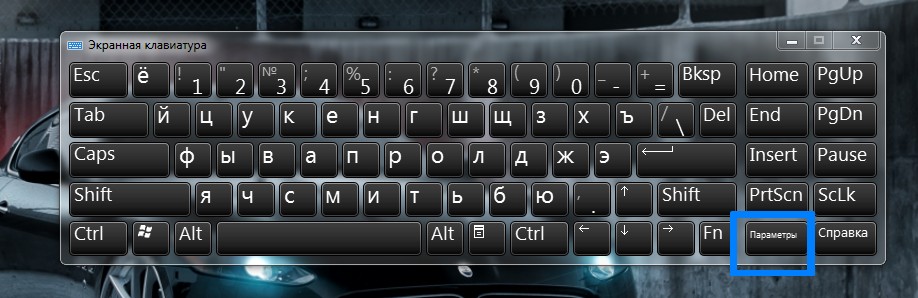
A small number of users are aware that additional settings are hidden in the on-screen keyboard. You can change the keyboard typing using a key on the on-screen keyboard itself, called “Options”.
I hope this article was useful to you. Today you learned how to enable the on-screen keyboard on Windows 7, pin it to the taskbar, or to the start menu. We also learned about its additional parameters.
